Practiced transformations, copy and pasting, and working with multiple layers, along with hue and saturation adjustments and drop shadows. I am happy with how this assignment turned out because it shows that I know how to blend multiple pictures together effectively, a skill I did not know at the beginning of the semester.
Unit A- After: learned to use the cropping tool. This was the first assignment we did, it shows how little I knew about the Photoshop program at the time and is a good marker for how much I have improved since then.
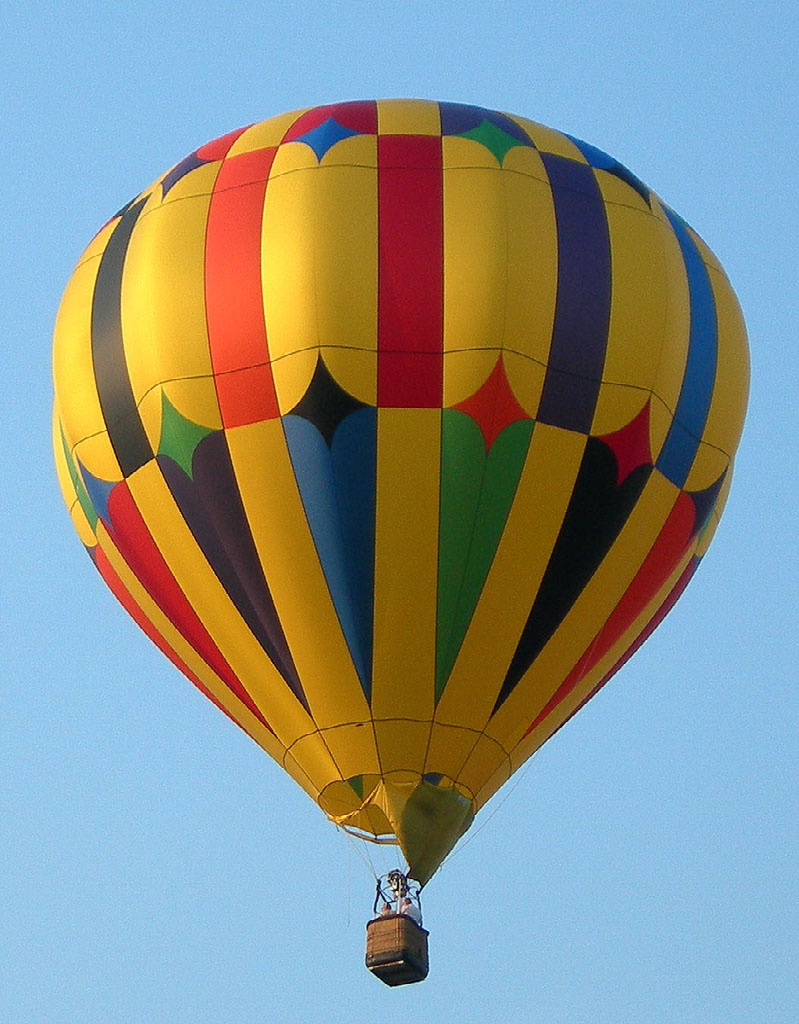
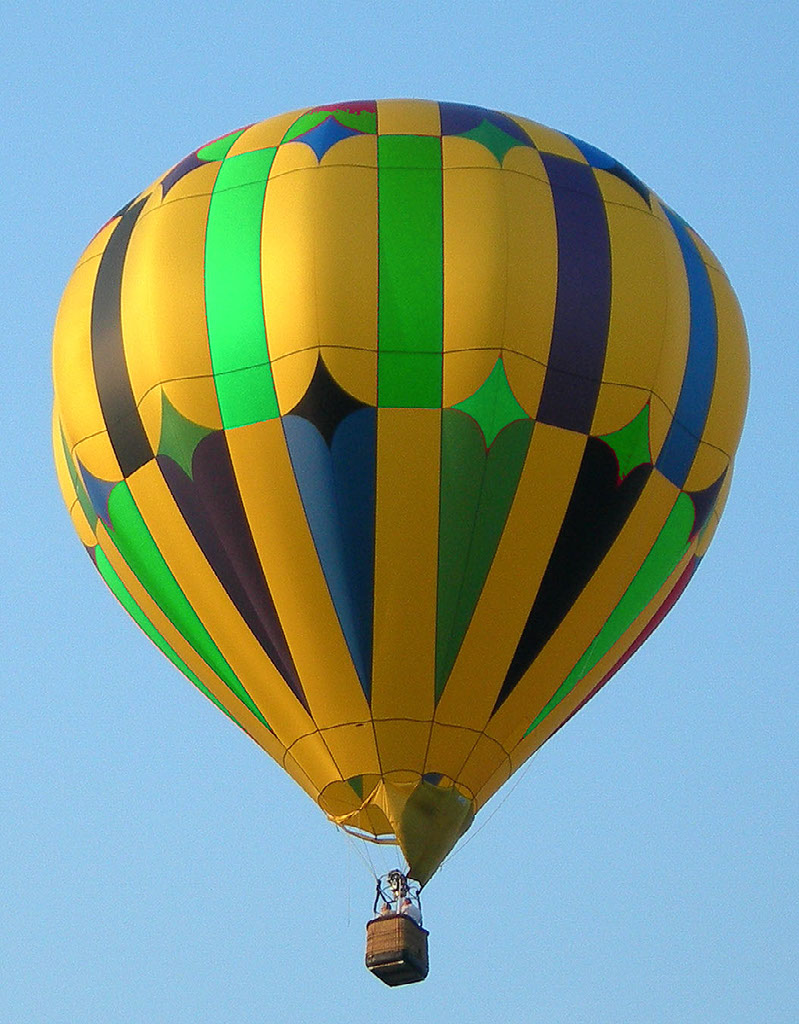
Unit B- After: learning to use the Magic Wand Tool. I really enjoyed this program because it was the first time we did something besides cropping and resizing. It was cool to see the difference between the original picture and the result, however, there are noticeable errors that I would be able to avoid making now.
Unit C- After: Learned to duplicate, delete, and paste new layers, scale, flip, and rotate artwork, how to add a drop shadow layer style, and work with a layer mask. This was when I finally of a hang of working with the program and was able to improve this collage with the help of instructions from the book.
Unit D- After: Learned how to work with different adjustment layers to improve a photo. This exercise helped me to start developing an eye for what adjustments look good and what don't. I still have a ways to go in this respect but this shows where I was at this point.
Unit E- After: Learned how to set type, lock transparent pixels, work with gradients, and clip layers into others. I remember this being extremely difficult for me the first time I did it. It was toward the beginning of the chapter and it was fascinating to see how much better I got as time went on.
Unit F- After: Learned how to replace color and work with the hue and saturation adjustments. This was just another skill I learned and it was very fun to see how easy it was to make such drastic adjustments.
Unit G- After: We learned how to colorize a monochromatic photo using the color blending mode.
Unit H- After: In this unit we learned how to use both the image processor and batch processor, along with the cloning tool- though that specific skill is not demonstrated in this particular photograph.
Adobe Bridge is a program that goes along with Adobe Photoshop. Here you see some key points and facts that we learned about the program.
- It is essentially a very high quality organizational tool.
- It is essentially a file manager but it comes equipped with many different tools to help the user find, manage, and organize files.
- You can rate each of your files using a five star system that is also another way to organize your files.
- You can also label your files with colors as yet another way to organize them, this is my personal favorite aspect of the program.
5 Attitudes that are Important in the Workplace are as follows:
- Respectfulness
- Pridefulness
- Commitment
- Innovation
- Helpfulness
Reasons to sign up for PC Graphics Poster featuring easy to read design, contrasting colors, a fun font, and other aspects of a perfect poster.
This is the postcard version of my PC Graphics Poster. I made a smaller version so the font stays easy to read from a distance.
This is my Liquefy assignment. Originally this was a cute little snowman and now it is a super handsome snow rat. This was accomplished by using the liquefy tool.
This is from when we were practicing whitening teeth. The one on top was the one I whitened, the one on the bottom is the original.
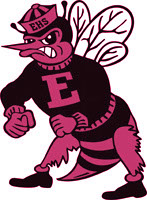
This is the colorized hornet, it was made using a Hue/Saturation layer to make it look pink rather than yellow.
Original, before I took away the wrinkles
This is the fixed picture. I used the healing brush to get rid of the wrinkles.
This is an example of a poster with excellent contrast. The colors red and blue contrast each other and both stand out nicely on the white background. https://www.google.com/search?q=movie+posters+with+excellent+color+contrast&safe=strict&espv=2&biw=1600&bih=794&source=lnms&tbm=isch&sa=X&ved=0ahUKEwi7yuvi5-fQAhUD3mMKHcVbBwcQ_AUIBygC#imgrc=bIuuM2hmuxsQxM%3A
This poster not only has excellent contrast but is also easy to read from a distance, which is another one of the 10 Tips.
This was a picture I took at the Grand Canyon at sunset. I really liked the picture but it was a bit dark towards the front. I used many different masks in order to brighten the front and not the actual sunset. It was difficult but I am really happy with the result and I enjoyed seeing how much I was able to do without the help of the textbook.
As you can see, the left side of my face was edited using primarily the spot healing brush and healing brush. My eyes were made bigger, my teeth white, my skin was smoothed, blemishes removed, and some of the wrinkles made from smiling were fixed.
I used copy and paste, the blur tool, and some simple transforming techniques to make this look natural. I then added some typography to say what it is.
For this aspect of the final I used layer masks to apply a different filter to each quadrant of the photo.
I used the crop tool, copy and paste methods, the magic wand tool, and simple transformations. I also used typography methods and the blur tool.
My movie poster was made using copy and paste techniques, hue/saturation layers, opacity adjustment, typography, drop shadow, and the Rule of Thirds.
Links to all original photos used in this portfolio:
https://www.google.com/search?q=happy+go+lucky+grinning+plumber&safe=strict&espv=2&biw=1034&bih=747&tbm=isch&source=lnms&sa=X&ved=0ahUKEwiEs-bhk9HQAhWmxFQKHW12DjYQ_AUIBygC#safe=strict&tbm=isch&q=smiling+guy+with+toolbelt&imgrc=dLRXCPvYqrhz3M%3A
https://www.google.com/search?q=happy+go+lucky+grinning+plumber&safe=strict&espv=2&biw=1034&bih=747&tbm=isch&source=lnms&sa=X&ved=0ahUKEwiEs-bhk9HQAhWmxFQKHW12DjYQ_AUIBygC#safe=strict&tbm=isch&q=heart&imgrc=RJza0MhrgbLWlM%3A
https://www.google.com/search?q=circle&safe=strict&espv=2&biw=1034&bih=747&source=lnms&tbm=isch&sa=X&ved=0ahUKEwi0zvqvmdbQAhVB1mMKHQ5QCwMQ_AUIBigB#safe=strict&tbm=isch&q=+old+circle+on+white+background&imgdii=UVmjz4KBTxU-AM%3A%3BUVmjz4KBTxU-AM%3A%3BknWGuFkZ9Qa50M%3A&imgrc=UVmjz4KBTxU-AM%3A
https://www.google.com/search?q=movie+posters+with+excellent+color+contrast&safe=strict&espv=2&biw=1600&bih=794&source=lnms&tbm=isch&sa=X&ved=0ahUKEwi7yuvi5-fQAhUD3mMKHcVbBwcQ_AUIBygC#imgrc=bIuuM2hmuxsQxM%3A
https://www.google.com/search?q=movie+posters+with+excellent+color+contrast&safe=strict&espv=2&biw=1600&bih=794&source=lnms&tbm=isch&sa=X&ved=0ahUKEwi7yuvi5-fQAhUD3mMKHcVbBwcQ_AUIBygC#imgrc=GALOF8KG0_7GbM%3A
https://www.bing.com/images/search?view=detailV2&ccid=MOkupess&pccid=ADD%2fjCqK&id=CBDF41F645E777EC5E669E7B3090F70C27C5F37B&pmid=CAB750939891B1BB84345FF42335C7E53415C2C7&q=old+man+with+wrinkles+blue+eyes%2c+white+hair%2c+gray+eyebrows&psimid=608010698559849812&iss=VSI&selectedIndex=3&count=35
https://www.bing.com/images/search?q=enterprise+hornet&view=detailv2&&id=0966265A7FD816CEC491825C59EFDF134AFE1978&selectedIndex=40&ccid=r3d%2bdGB0&simid=607993935312191783&thid=OIP.Maf777e746074ace2c86494d7695aaefco0&ajaxhist=0
https://www.google.com/search?q=Halloween&safe=strict&source=lnms&tbm=isch&sa=X&ved=0ahUKEwiavbSo0IXQAhXBllQKHYUDDSYQ_AUICCgB&biw=1600&bih=794#safe=strict&tbm=isch&q=crawling+zombie+outline&imgrc=LgZhKVp1xGnQMM%3A https://www.google.com/search?q=Halloween&safe=strict&source=lnms&tbm=isch&sa=X&ved=0ahUKEwiavbSo0IXQAhXBllQKHYUDDSYQ_AUICCgB&biw=1600&bih=794#safe=strict&tbm=isch&q=zombie+outline&imgrc=cHoXnrBngZZXFM%3A https://www.google.com/search?q=Halloween&safe=strict&source=lnms&tbm=isch&sa=X&ved=0ahUKEwiavbSo0IXQAhXBllQKHYUDDSYQ_AUICCgB&biw=16 00&bih=794#imgrc=h0i9_Wn80YWDzM%3A
https://www.google.com/search?q=postage+stamp&safe=strict&espv=2&biw=1034&bih=698&source=lnms&tbm=isch&sa=X&ved=0ahUKEwjIvq699_HQAhVQ72MKHYa5CBoQ_AUIBigB#imgrc=cWyQ2ofaw7ak2M%3A
https://www.google.com/search?q=postage+stamp&safe=strict&espv=2&biw=1034&bih=698&source=lnms&tbm=isch&sa=X&ved=0ahUKEwjIvq699_HQAhVQ72MKHYa5CBoQ_AUIBigB#imgrc=xoKZNZlxF9HQFM%3A
https://www.bing.com/images/search?q=base+of+Building+at+Night+close+up&view=detailv2&&id=F20E6F84EFE5B4E1897F111CABAEE0A6A5FB943D&selectedIndex=33&ccid=LeH5bNdB&simid=608005312683377702&thid=OIP.M2de1f96cd741561a88e566af90a8cb7bo0&ajaxhist=0
https://www.google.com/search?q=cow&safe=strict&espv=2&biw=1034&bih=747&source=lnms&tbm=isch&sa=X&ved=0ahUKEwijgsan_PHQAhVD3WMKHfoJAIQQ_AUIBigB#imgrc=WyWB9IfzyVWVdM%3A
Botello, Chris. Adobe Photoshop CS6 Illustrated. Boston, MA: Course Technology Cengage Learning, 2013. Print.