Renaissance Research
Renaissance self-portrait
Rationale
The Renaissance Portrait assignment had been a challenging assignment for me. To create this realistic renaissance portrait, I replaced the face from the original portrait with my own face using Photoshop. I took many approaches to making this portrait realistic. I first used the quick selection tool to select the contour of my face and then I applied layer mask on to my face. With this separate layer I adjusted the hue/ saturation, the white balance and applied the sandstone filter on the face and on significant objects I've included. As for the background, I liked the pre-exisiting smudged effect. So I worked with the previous background by applying the layer mask and adjusting the colour along with the opacity .
Two objects which is significant to me is my pet, turtle and Haagen-Dazs ice cream. I photoshopped my pet turtle in the image as if it is resting on my hand. I also included the Haagen-Dazs brand logo on the woman's left sleeves as it is my favourite brand of ice cream of all times. Lastly, England is where I would call "home" in the future. An image of a street on England is set as the background for this renaissance portrait.
References:
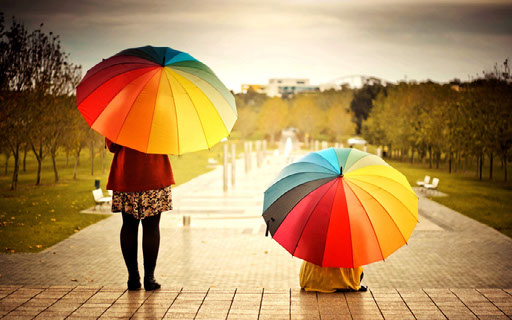
Surreal Landscape Project
For this simple surreal Landscape Project, I decided to have hamster and people holding umbrella's in the piece. The image is surreal since the hamster is much bigger in size than the people walking on the train track. My inspiration came from my own observations when I take the subway to school each day. I sometimes see the presence of mice on the track and thought it would be interesting if mice to appear to be bigger than humans. To create this effect, I used the quick-selection tool, the blur and erase tool, the hue/saturation and white balance , the sandstone filter. I also applied dropped shadows to the people walking on the train-track and a gaussian blur at pixel 3-4.
Traditional Photo Portraits
The Steve Carty workshop was an amazing experience. I learned about the technical part of photograph; the different types of lighting when taking a photo for various effects. For example, front lighting would always make the model look attractive while back lighting would create a much different effect; like the person is emerging out the background. His workshop had also made me realize the connection between photoshop and photograph. I was inspired by how the two can be worked together to create more pronounced and original art works. In additional to the technical aspect, his talk about his career had also been inspirational and encouraging. I am astonished by his courage to take risk and aiming for his goals. In the future I would apply the skills learned during the workshop into my daily life.
Surreal-Protraits Research
References for Surreal Portrait
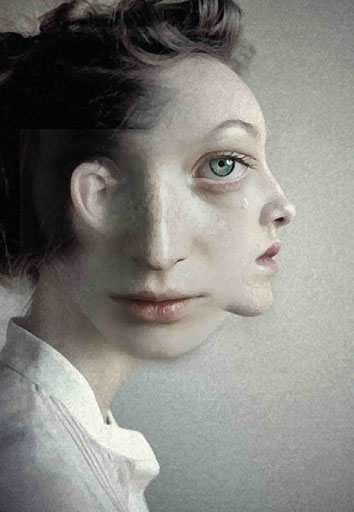
When given this surreal task I had been very excited to creating this portrait. However, this was a lot harder than I expected to be and did take me a really long time to accomplish the final portrait. After researching for surreal inspirations I hoped to create something extraordinary but I realize it was difficult since I am not very advanced at photoshop than illustrator and the two still differ.
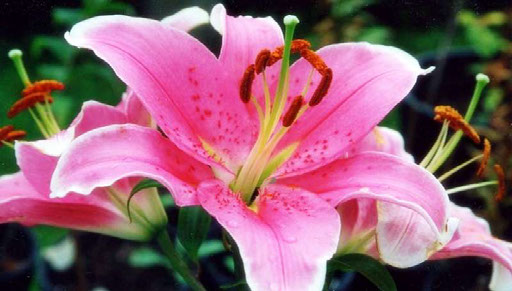
My final idea is to make myself a "forest guardian". I chose this idea because I have always appreciated nature and everything around us. Going out for walks on a nice day help me relax and distress. It also helps me to stay away from social medias. With the benefits nature brings, I want to protect the nature as well. Since I am doing a forest guardian, I included a tree in my final design. I had photoshopped the tree truck as my neck and branches are extending to the sides and covering parts of my face. On the top my head, I tried to create the image of a "magic garden" in a forest. I included two types of flower, lily and roses. I also included a mushroom field, a dragonfly inside a bubble, and a humming bird which is where my eyes are looking at in image. I also applied the brush tool with leaf patterns on my hair to guide the viewer's eye from the "secret garden", top of my head to the tree growing.
After adding all the components it was difficult to create this image . I used many tools in making this believable . For example, the colour/hue and saturation was fluently adjusted to compensate the other components in the image. This application is most evidence in the colours of the trees along with the use of dodge and burn tool to make some areas stand out more. For example the burn tool is applied to the truck to add a "shadow" effect I had also used the liquify tool to stretch bits of my hair. Texture is applied to the tree, the lily and the mushroom field. This assignment helped me realize the importance of working with layers. Without organizing all the layers it will be impossible to make everything believable because I had to adjust the colour and other parts of the image. I will apply this skill or organizing in the future to create more successful works.
Credits:
Created with images by carulmare - "JUAN DE FLANDES Portrait of a Girl c1500-1510" • dbking - "Leonardo Da Vinci's "Ginevra de' Benci"" • vidalia_11 - "La Velata, Raphael, 1515-16"