FILM
In the Changing Room
After you follow the instructions displayed in the video, pour the chemicals (D-76, Stop, Fixer, PhotoFlo) into a measuring beaker and then into the container and swirl it for a certain period of time based on the temperature.
In the Dark Room
Before the Chemicals:
The Chemicals:
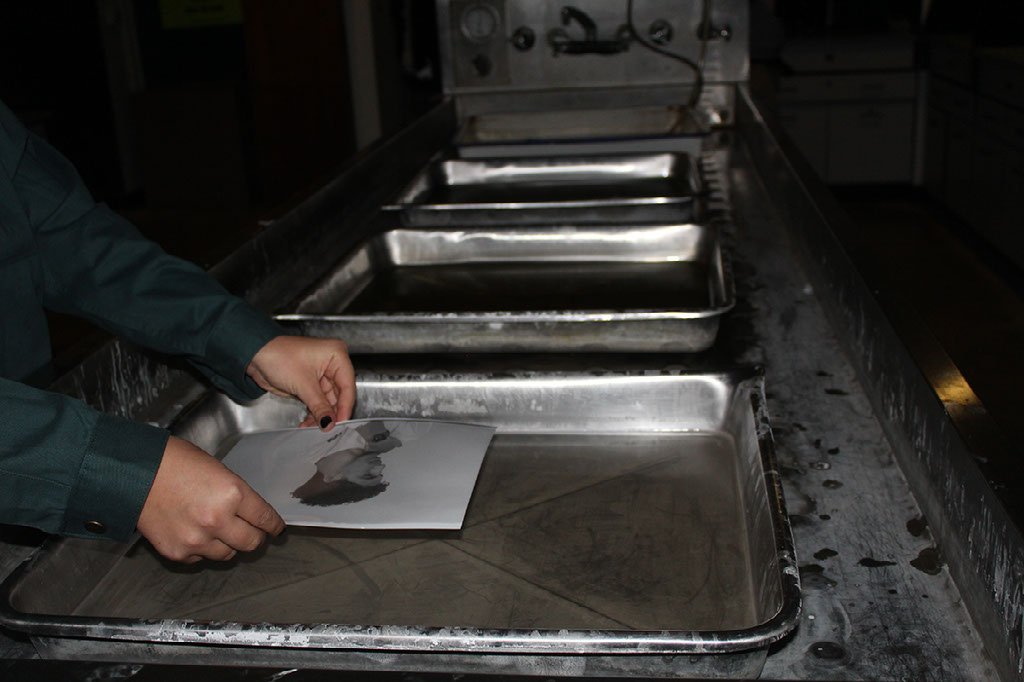
First, place the sheet of photo paper in the D-76 Developer for 90 seconds or until the exposure is to your liking.
After the chemicals:
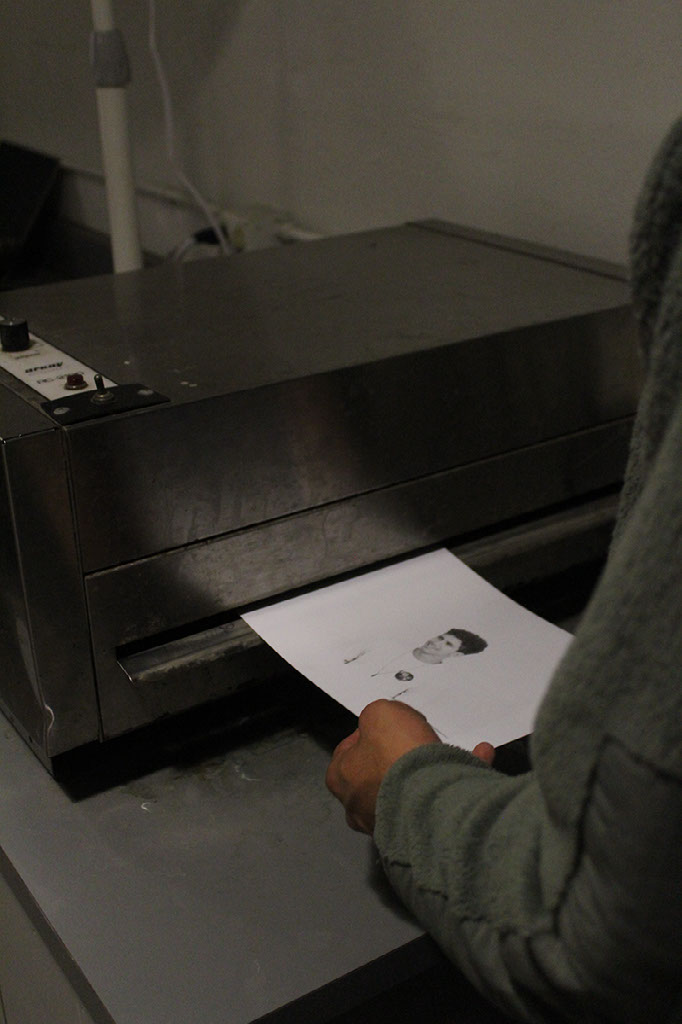
To Make Prints:
Before making a print you must make a test strip. However, before you make a test strip, you must make a contact sheet by exposing all of your negatives on one sheet
After you make a test strip, expose the full photo paper to light and then run it through the chemicals
Photograms:
To Dry Mount:
First, tack your print to a special tissue paper and then to a board and place it in the dry mounter.
Pinhole Camera:
For a pinhole camera, you must have a box and cut a 1x1 inch square out of it. Cut a square of the same size out of an aluminum can and duct tape it over the hole in the box. Next, poke a hole over the aluminum can.
Storyboards:
To create a storyboard, you must take pictures with a polaroid camera, print them and glue them to a board. Then you may add extra detailing, if you'd like.
DIGITAL
Aperature
Shutter Speed
Pro Tips:
- If your print is under/over exposed in some places than others, you can use burn and dodge tools to even it out.
- You can use a contrast filter to make the blacks more black and the whites more white
- You can use a grain focuser to focus the negative in the enlarger.