The first thing I did for this project was to prepare my fabric using an altered batik technique that uses quick drying glue instead of wax.
I started with a plain piece of cotton fabric and "drew" a design using the quick dry glue. My reference video was: https://www.youtube.com/watch?v=C4MBRZIQxXI
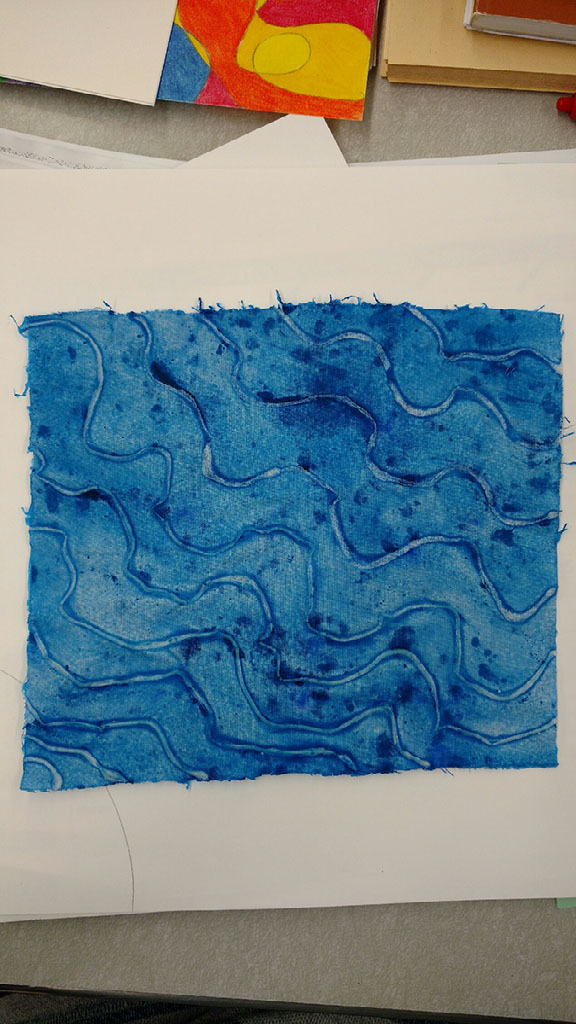
After the glue was completely dry (about an hour) and mostly clear, I made a mixture of water and acrylic paint - phthalo blue and ultramarine blue in a clear plastic container. The mixture was about a tablespoon of each of the blue paints and approximately four cups of water (I wanted the water to be deep enough for the entire piece of fabric to be in the acrylic mix all at once). I left the fabric in the mix for about 20 minutes occasionally stirring with a paint brush.
After 20 minutes I took the fabric out and laid it flat on top of a plastic trash bag and brushed over any acrylic paint "blobs" to even out the stain and help flatten the fabric. I then let the entire thing dry overnight before peeling off the glue. Although I didn't use the dye as recommended in my resource video, I knew my piece was not something that would be washed/worn and knew the acrylic paint would stain the fabric nicely.
Next I made an image transfer onto the fabric using a photocopy of a sketch of a beta fish that i had drawn. Using acrylic gel medium and a toner copy of my sketch i was able to successfully transfer my sketch to my new "batik" fabric. This served as my pattern to embroider.
To create an image transfer: First, use an image that has been created using toner (I used a copy machine to make a toner copy of an original sketch). Next, trim the excess paper from your image, thoroughly paint the image side with acrylic matte gel medium then turn it over face down onto your fabric. Next it is important to entirely rub the back of the image. I used the back of a spoon and rubbed it with my finger as well. Let it dry overnight and peel the paper off under running water. You will need to rub and remove them paper, leaving the image (this step in the process is magical!). Be careful not to rub too hard or you will lose some of your image, which is why the top of the beta's head is missing...ooops! Here is the resource page I used to learn the transfer process: https://crythebird.wordpress.com/2015/02/08/toner-transfer-secrets-revealed/
I used an embroidery needle, embroidery hoop (only for a little while), and two strands of embroidery floss in both a red-orange color and a variegated red on the beta fish. I predominately used the back-stitch to create the contour lines around the fish and in and around the fins. I used a modified satin stitch to fill in the fish body.
I continued stitching the fish using a two strands of embroidery floss and embroidery needle, then continued to make three white bubbles using the french knot technique (or at least giving it a valiant effort...). The plant and "gravel" were done with the cotton thread and tangled much less than the embroidery floss...however it left a thicker more bulky stitch.
Overall, I was very excited about the finished product and would love to do more in a similar style!
Credits:
Kim DeKay