Once I chose to make canisters, I made three templates. (Small: 4in by 11in, Medium: 6in by 13in, Large: 8in by 15in)
After my templates were made, I began rolling out slabs of clay to cut out the sides of my canisters. (The clay in plastic stage).
(Putting the slab of clay on the board helps in dry quicker)
Then, using the templates I rolled the sides into three cylinders.
Then I used another slab of clay to create the bottoms on the canisters.
After all three canisters had sides and bottoms, I moved on to sponging. I smoothed out the sides and made sure all the canisters were leveled. (The canisters in the leather hard stage).
I used the rib (the green tool) to help smooth the sides.
Next, I had to make the lids!
I made the lids by tracing the outside and the inside of each cylinder onto a slab of leather hard clay and cutting them out. Then I slip and scored the two pieces together to create the top of the lid and the flange.
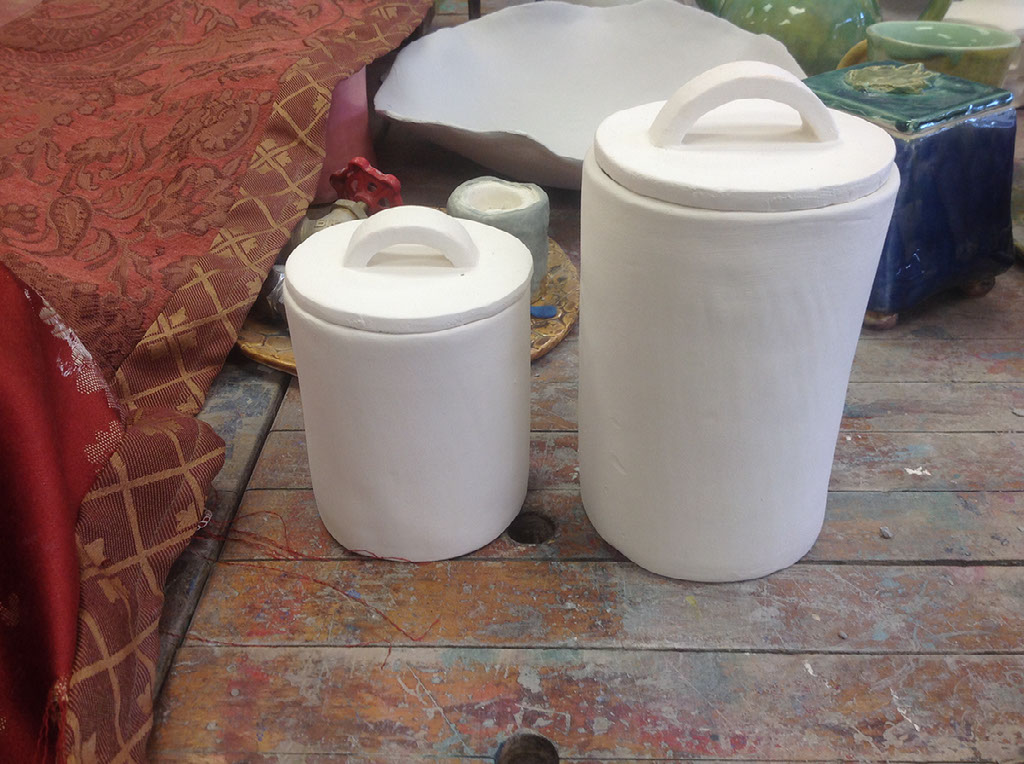
Once I tested to see if the lids fit, I moved onto creating the handles. I used soft clay to create the shape and waited until they were leather hard to attach them to the lids.
After making the handles, I slipped and scored them to the lids. Then I was ready for my canisters to go into the kiln!
After being put into the kiln, I sanded the canisters.