Hey guys,
I love to watch DYI stuff online and find out how things can be done in different ways. This time my husband and I decided to record our small project for fun, nothing professional as you can see but enough to share our experience. We never installed tiles or backsplash before, we were very afraid of the results, but to be honest we are very proud and happy with the results of our first time installing a tile backsplash in our "old" new home.
Materials and Tools Required: Tile setting Mat, Pre-mixed grout, grout float, measuring tape, pencil, masking tape, ruler (we used our leveler), sponge, bucket with water, scissors, cleaning cloth, tile saw, cardboard for my template, and grout sealer (optional - I did not use it since my grout is gray). For my trim: square dowel, paint and Clear Matte Water-Based Interior Polyurethane.
Step 6 - Adding Trim to our project
We decided to add a trim to this project but could not find one that would work. We found a $.99 cents hardwood square dowel and used as trim.
Ps: we found this great table saw Pre-Owned at https://www.directtoolsoutlet.com/zrrts11
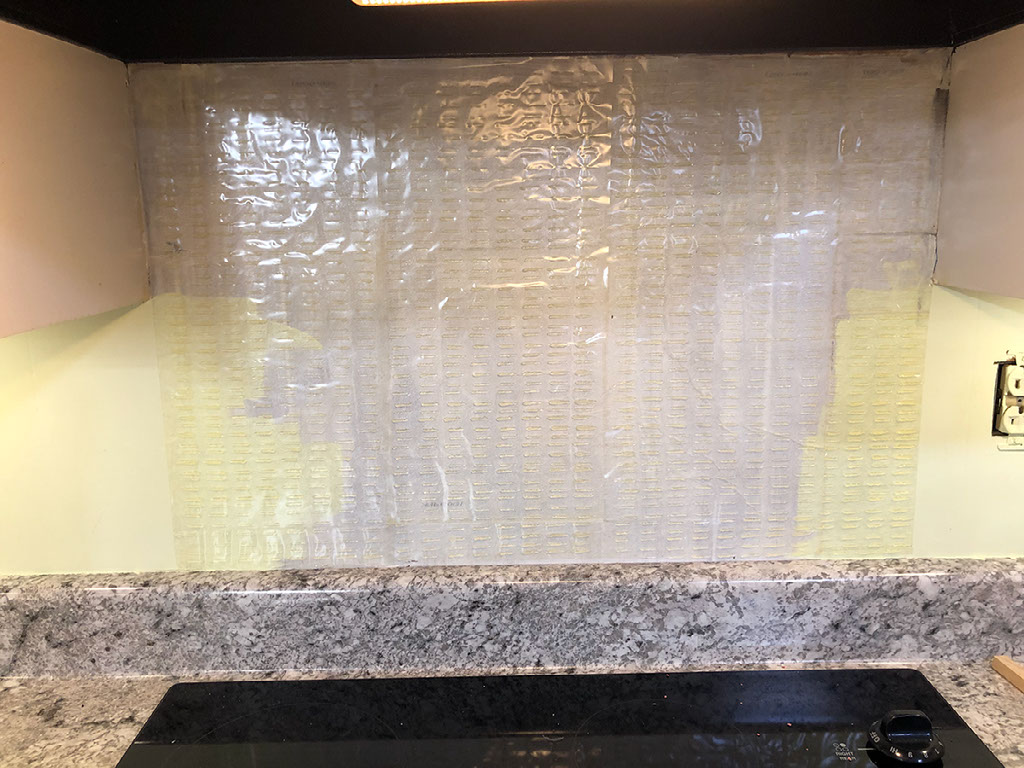
Step 7 - Place trim and tiles on the adhesive mat
Step 8 - Apply pre-mixed grout and clean
This process was so messy and it dried so quickly that I forgot to take a picture/video :( Apply the pre-mixed grout with the float and work in small areas.
Step 9 - Wipe tile and remove haze
With a damp sponge and clean water change frequently) wipe area in circular motions. After 4 hours (see grout instructions) use a damp cloth to remove the haze.
Step 10 - Paint the trim and enjoy the view
I painted the trim the next day the same color as my cabinets, and applied a Clear Matte Water-Based Interior Polyurethane 2 days later.
Suggestion to shop for Interlocking Backsplash Tile: We found a great place and price for that kind of projects (including flooring, etc) at Southeastern Salvage at www.southeasternsalvage.com