I had to create a logo, business card, and web banner for RPS. I had to work off the original logo, which was just 4 triangles, with shades of red, blue and purple. I used illustrator to make the shapes, making it resemble two solar panels stacked against each other, while still using the original shapes. Then I imported it into photoshop and added shadows, and a little shadow on the text. Overall I learned that printer color is not screen color, which I found out when the printed version appeared a bit orange. I wanted a different width font for the subtext but they didn't want it. So I learned to blindly accept the will of others and leave it be.
I had to create a poster for Serra's "40th" anniversary. They wanted Serra colors with a retro theme, so I had to work around that. I made everything in Illustrator, and tried to give a clean, slick design without too much clutter. I learned never to work diagonally in illustrator unless you want to know torture. This didn't get picked so I have nothing to learn from the client. Oh well.
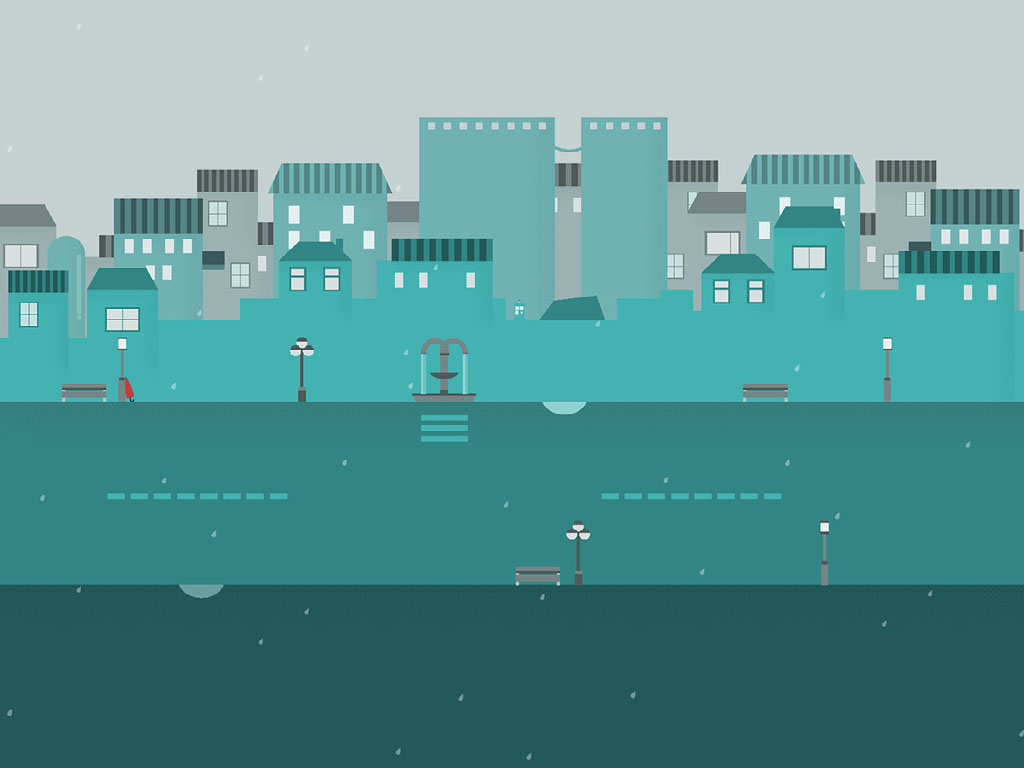
This is one of my personal works, representing the last 3 months of the year. October (right) was a bit rough and inconsistent but from November forward, it got better with sticking to one color. I used illustrator for this, and then imported it into Photoshop and added shadows. I learned that using one color and changing the shade of it was the best way to make it look aesthetically pleasing, while making it easier for me. The best part was the consistency of the style. Each one focused on layers, which get lighter the further it back it goes. It got simpler as the months went on, from October being too crowded, November being the perfect balance, and December being a bit too Empty. From now on I'll aim for November.
This was a hard project. I had to take 5 separate pictures of Sherlock and John each, combine it into a single image, adjust the color, stylize it, and get the right proportions. I did this entirely in Photoshop (obviously), and it was a pain. I de-saturated all the pictures, transformed it into the right proportions, isolate the individual part, warp it into shape, adjust the levels, and stitch it together. Then afterwards, I would make a new color layer, paint the colors in individually, and then add a final master adjustment. The hardest part was adjusting the levels and coloring it, although all parts were exhaustively difficult. I learned to always make an image black and white before combining it. Next time I'll stick to watercolors.
This was quite weird to do. I used Photoshop to combine multiple pictures of the Donald, the Putin, and the water. I started with the background, imported trump and putin, and sized them down. Then I continued to adjust their colors (without making it black and white), and added their own shadow. Then I added in a swamp, added a reflection and diffused a shadow. Then I decided it wasn't good enough so I put it in a painting to hide it's lacking quality. I learned that you should always add custom shadows when working with different pictures. Next time I'll de-saturate everything first.
Break the rules, be a rebel. Take that Pederson