Problem Statement:
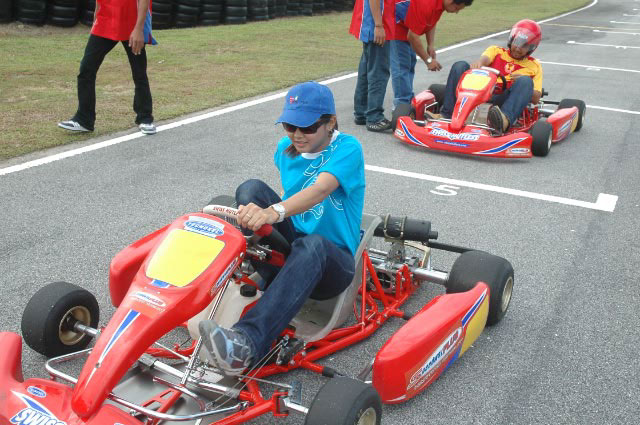
Our goal of this project is to design and build a fully functioning drill powered go-kart that can accomplish the following criterions drag strip (acceleration/top speed), road course (handling/control) and super mileage (endurance/efficiency). We have over the course of two marking periods to complete the go-kart. The materials that are provided are a 18V Drill, 1 sheet of ¾” plywood, miscellaneous hardware, and wood glue. Also we are provided with a budget of $25.
Research:
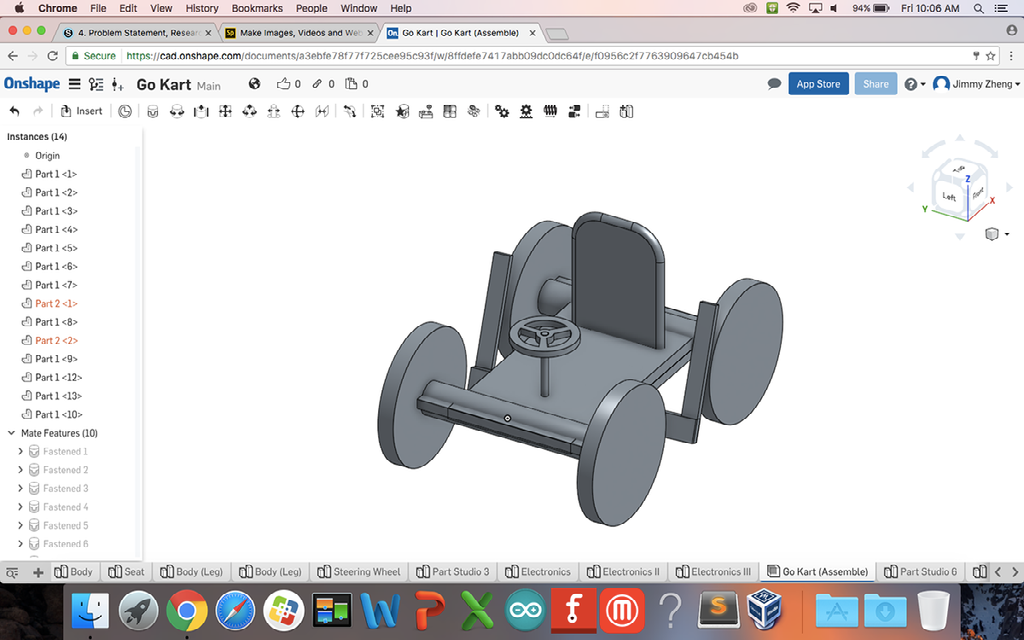
Design:
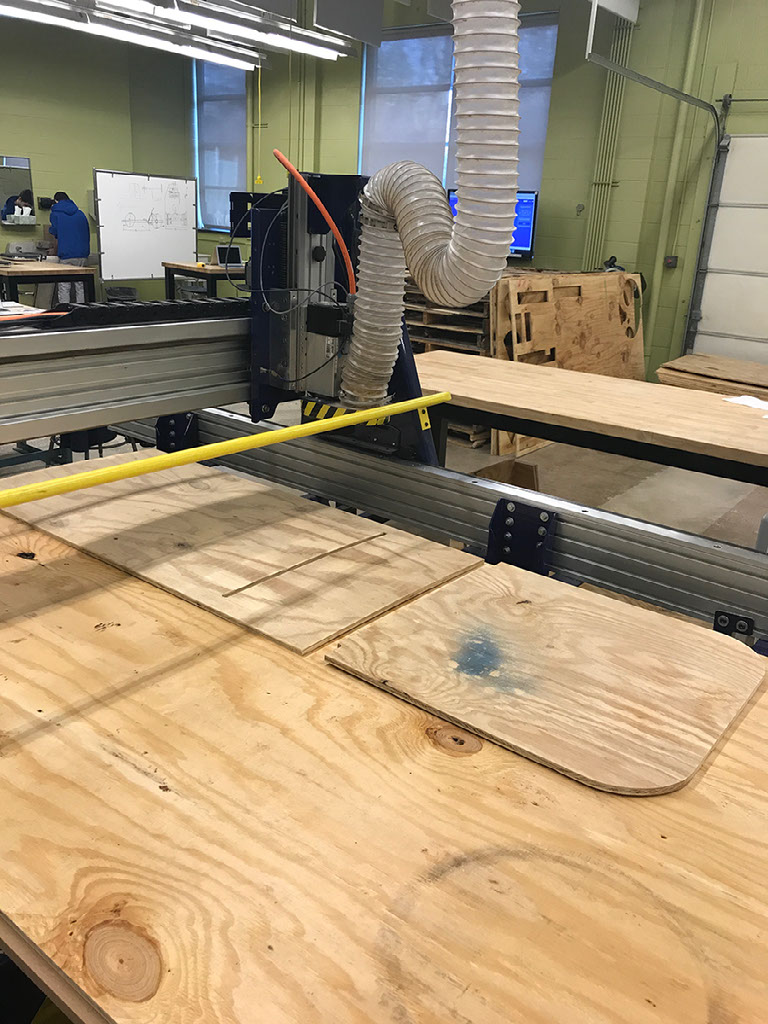
Build:
For the steering wheel we drilled a 1 inch hole, 3 feet and 1.5 feet in the base to fit the PVC pipe. Then we spray painted the PVC green and the head of the steering wheel yellow. Then we assembled the head of the steering wheel to the pipe using the Instamorph. Then we attached the steering to the go-kart using a tenon.
Sterring System: The system consist of the PVC pipe with a 1/8 bit to fit the string witch travels to each of the wheels and as the PVC twist so will the wheel making the Go-Kart turn. The string is attached by running each side through an I-bolt on the bottom of each wheel.
For our wheels we used two .5 inch thick axles for the front and back wheels. When adding the wheels to the axles we realized that one of them was slightly bent. We came up with a solution by adding bolt to the middle of the axle where it was bent. We then added the wheels to the base and screwed a piece of wood to the bottom of it for more support.
Credits:
Created with images by MyLifeStory - "Go Kart With MyTV3"