Projects by Zach S. pc graphics - These images were used for educational purposes only.
These images were used for educational purposes only.
I used filters, and removed the eyes to make this blank stare, which is very haunting.
I made this cute cat look red, and I removed it's eyes to make it a little more creepy, but still this cute vibe.
I used the lasso tool and the hue/saturation to brighten the teeth ! :DDDDD
I used the simple lasso tool to be able to remove the background from the bird ^
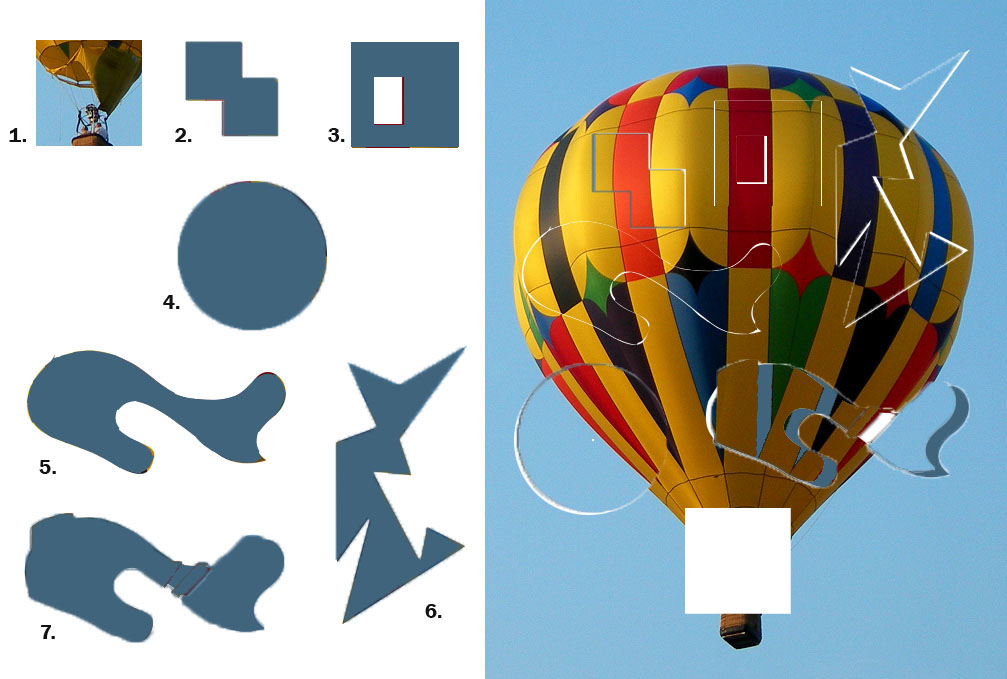
I used the magic wand tool and lasso to put the missing puzzle pieces on.
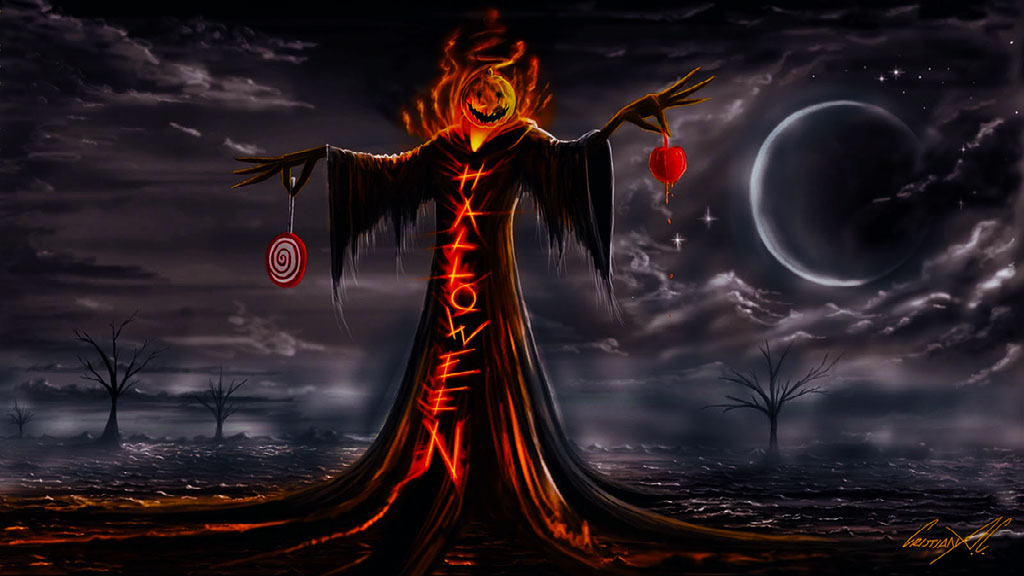
I used the basic typography tool, and added a stroke and a shadow to let it bold out.
I made this picture more sharp, and added some more definition using contrast and brightness tool.
I used a gradient on the text, so that it looks like the text is fading away.
I replaced color on this photo, and made the dress green.
I used a non destructive filter, which made this picture look very sharp.
For this one, I used the clone stamp tool to remove the other geese that were once in this picture.
This is the poster if I had a movie for "The Battle of Guadalcanal". I used many different tools to make this one. I photo shopped a tank into the forest image, and blended it in by using the clone stamp tool, and putting grass over the wheels to make the tank look like it has assembled into the environment. For the text, I just put outline of red over it and a little of bevel and emboss to make it more eye catching. There is still many flaws with the poster, but I hope to learn how to fix my mistakes, and be a great photo shop master some day! :D
This was created by blending different grays together by using different paint tools, until I finally came to creating this really cool chalk look. I then typed out the 5 things that you can achieve through a photoshop class! It's very simple, yet looks great.
I was able to make this by just cleaning up my face with the spot heal tool. I also made the typography by adding a clipping mask of fire and adding it to the text. I then added brightness to my teeth and face, and finally I added a pink background to let my face show a little more.
To create this, I took a picture from my gallery and put me in a vacation spot, and then I put that picture onto a post card and outlined it with a pen. I then added some text and put a post card stamp on, and finally added some messy tear marks to make it look a little bit old.
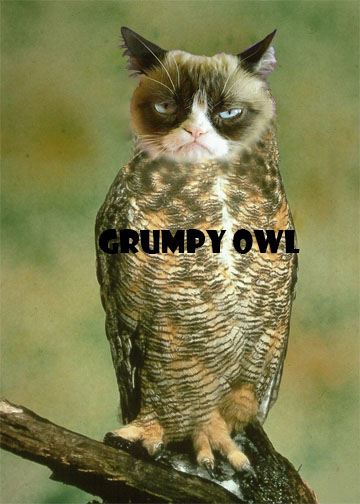
Its grumpy owl :D I put the grumpy cat face on an owl and did some minor blending, but it turned out pretty good.